Thursday, October 20, 2011

Roy G Biv, Roller Coasters and Shapes


These are a few art lessons we have done this nine weeks in Kindergarten. All have been successful.

Lesson: Roy G Biv
Objectives:
  • Student's will learn about the spectrum colors (rainbow) and their order.
  • student's will each create their own ROY G BIV.
  • Student's will understand and Follow a step by step presentation of the activity using the document camera.
  • They will use art tools safely and appropriately. Scissors and glue (just a dot not a lot)
  • Learn how to carry their art work to drying rack.
Supplies
  • 12x18 white paper
  • tan paper with circle traced on it
  • Strips of spectrum colors
  • glue
  • scissors
  • ROY G BIV name tags
  • CD by Greg percy "ROY G BIV"
  • Markers
This is a one day lesson. My class time is 40 minutes. I am booking it to get finished. I thought about taking the song out, but it is so cute. A great way to teach a concept!
  1. Introduce colors in the rainbow and ROY G BIV. Explain the he lives in a rainbow and sometimes we see him in our and other works of art.
  2. Sing song by Greg Percy "ROY G BIV"
  3. Demonstrate how cut circle from tan paper and where to glue it on white paper. Also demonstrate where to glue his ears.
  4. Discuss the order of the spectrum colors and demonstrate how to glue to rainbow colors as his hair.
  5. name tag goes at bottom or somewhere
  6. Demonstrate how to draw his face with a great big smile!
Closure: review names of spectrum colors.


The Roy G Biv lesson above I borrowed from a kindergarten teachers blog. I did this lesson after the roller coaster and shape lesson. Super cute.


This roller coaster lesson is an all time must for kindergarten. I've been doing this for years. This is usually my third lesson with kindergarten, after an introduction to line. It is a great lesson to teach how to open, use and close a glue bottle. The total lesson can be found in last years post.


"Castle and Sun' This lesson came after the roller coaster lesson. I wanted to continue with using the glue bottle and introduce cutting in art. I showed the students Paul Klee's "Castle and Sun" and we discussed the shapes he used in his castle.

I had rectangles, squares, triangles pre cut for them to sort through and build their own castle. Building from the bottom up was a hard concept for most. They orignally wanted to slap shapes on their paper just anywhere. I had to really encourage them to build.

The last thing they did was cut a circle drawn for them on an orange sheet of paper. I walked around the room and really just watched who could cut.

I really need to post more of these. I was really inpressed with alot.

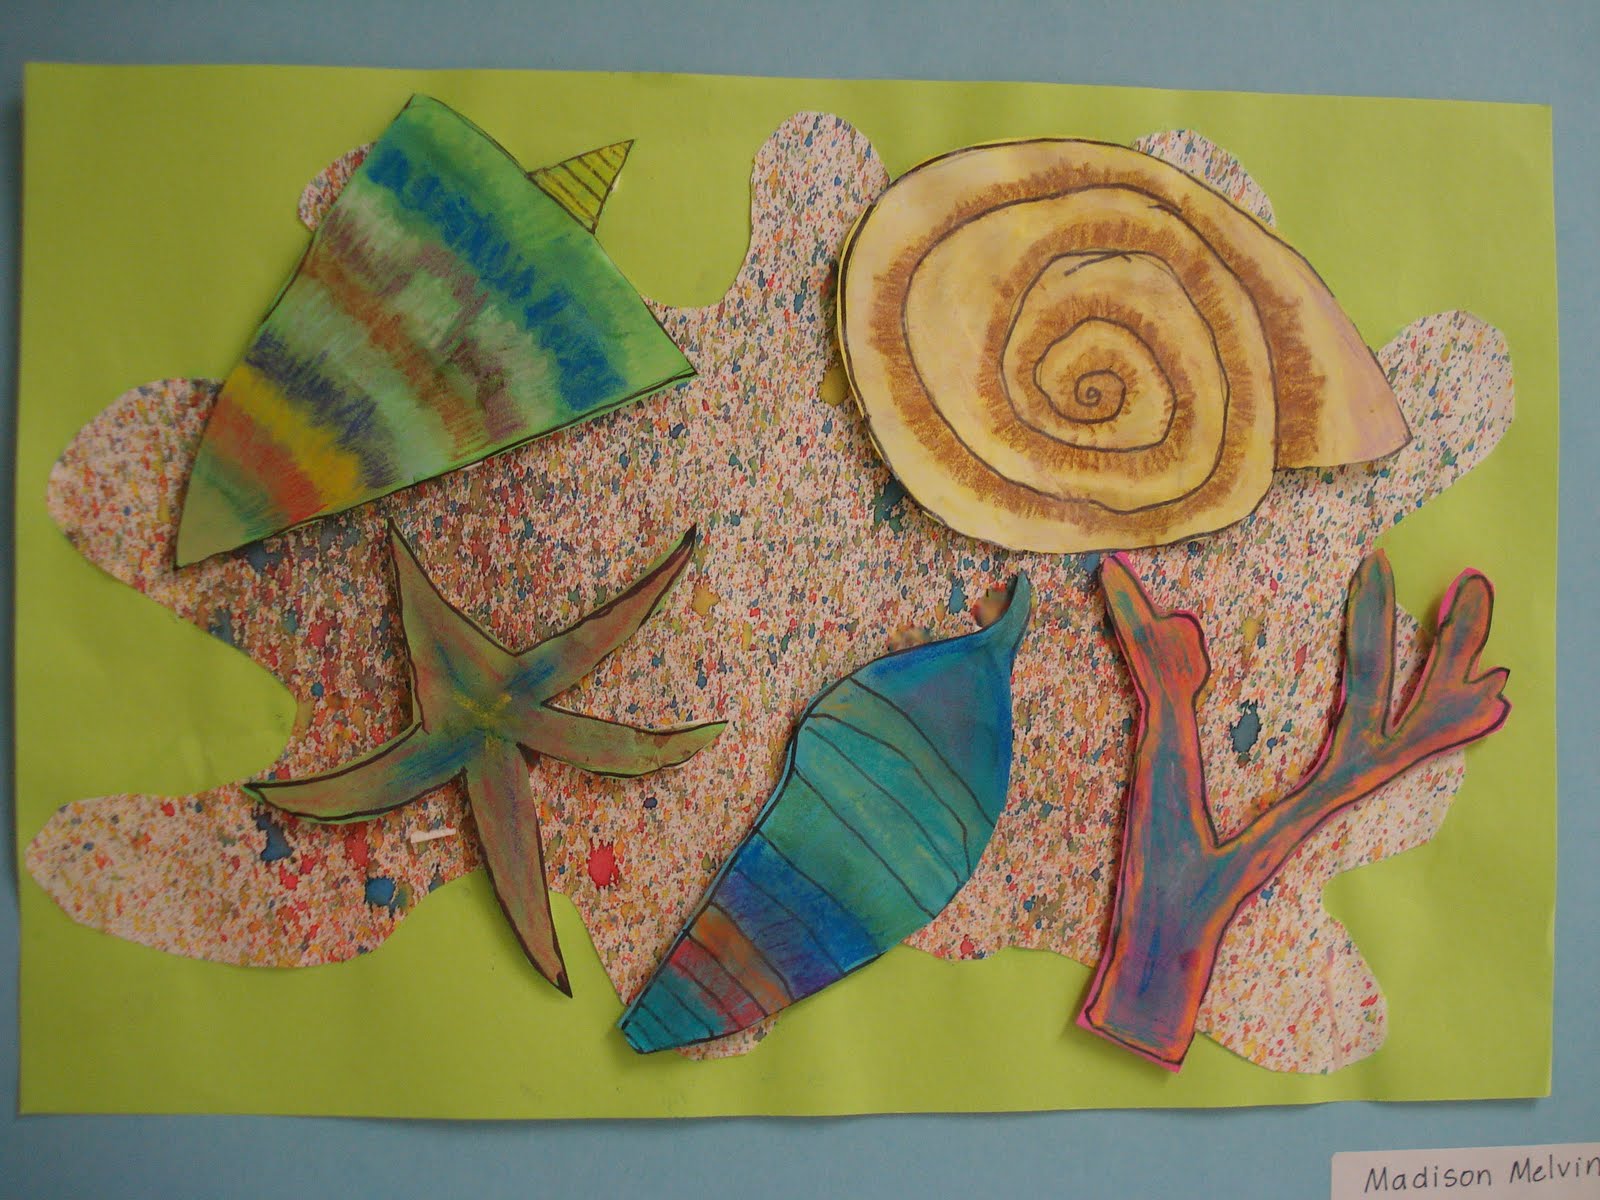
I am going to do this lesson next nine weeks again with my other set of Kindergarteners and may chose a different color background and incorporate some different kinds of paper. ie scrap book, painted paper, etc.

Monday, October 17, 2011

One Point Perspective Interiors


A couple of weeks ago I posted a video from U tube on one point perspective. This is the lesson that went along with the video. It was one of the hardest things I've taught but I think the students really enjoyed its complexity. Most of the results were great like the ones posted. Excellent lesson on space and how to draw a three dimensional space on a two dimensional sheet of paper. I showed the classed "School of Athens" for an example of one point perspective.


After we watched the video I used my document camera and step by step we did the directions from the video. Using a direction point (vanishing point) the rooms were set up. This took two days. The first day, after the video, we drew the back wall, two side walls, floor and ceiling. We also added two doors, windows, and frames, etc on the wall.


The next week we added details to the floor and lights on the ceiling. Then it was traced in sharpie. The creativity came next. Students needed to decide what kind of room they wanted to create using details inside the frames, outside the windows, textures on ceiling, walls, what was on the back wall. I did show the classes how to write a word or their name on the wall in perspective. All this was also drawn in sharpie.


The third day on a separate paper they drew a self portrait from elbows up with sharpie and colored it in with crayon, colored pencils. A large size was needed because we were to be the biggest part in our room because we were in the foreground.


The last day the rooms were colored in with crayons and colored pencils and self portraits were glued in the foreground.


Furniture was not added except if it were on the back wall.


This project took about any where from 4-6 class times to finish. Some students still need to finish, but will have to make it up later. We have already moved on to our NC lighthouse collages.


I got this idea from another art teacher on her blog, but can not remember what site.


Wednesday, October 12, 2011

Crazy Quilt


This second grade project is inspired from Gustav Klimts "The Baby" painting. We actually discussed the life and work of Klimt, and paintings such as The Kiss, Tree and Life, and self portrait of "Adele Bloch-bauer ". We talked about how he used shapes and patterns in his paintings and how he went through a gold phase.


Student's quilts are colorful and show contrast through the use of pattern shapes.


This lesson was done with sharpie, markers, and crayons. Gold paint was added to back ground to compliment the great and fabulous Klimt.


This project was also taken from the "Dynamic Book of Art Projects"mentioned in my last blog. However I changed the materials a little to be more appropriate for second grade.

Tuesday, October 11, 2011

Ocean Treasures

The art lesson is fabulous! My fifth graders did such an amazing job at the contour line drawing of the shells and the chalk blending.

This lesson did take several weeks to complete, but totally worth it.


The complete lesson can be found in the below book Dynamic Art Projects for Students.

Thursday, October 6, 2011

Drawing Bulletin Board


It has been almost a month since my last post. I want so much to do better! We are busy in the art room this nine weeks wrapping up some great art works. I will post soon. Here is a great bulletin board photo from September.

Wednesday, September 7, 2011

One Point Perspective

This week in fourth grade we are working on one point perspective, with room interiors. This u tube video has been great for my students to see, before I demonstrate the lesson! I wanted to post if any of students want to watch at home while they practice (yeah right)!